Installing a Phone Screen Protector Is a Nightmare—Until I Discovered a Foolproof System
I’ve owned smartphones since the early 2000s, back when you needed a stylus for some of them and the idea of a front-facing camera felt revolutionary. Since then, I’ve broken a few screens, scratched many more, and spent far too much time squinting through air bubbles or attempting to realign a protector that decided to stick at the worst possible angle.
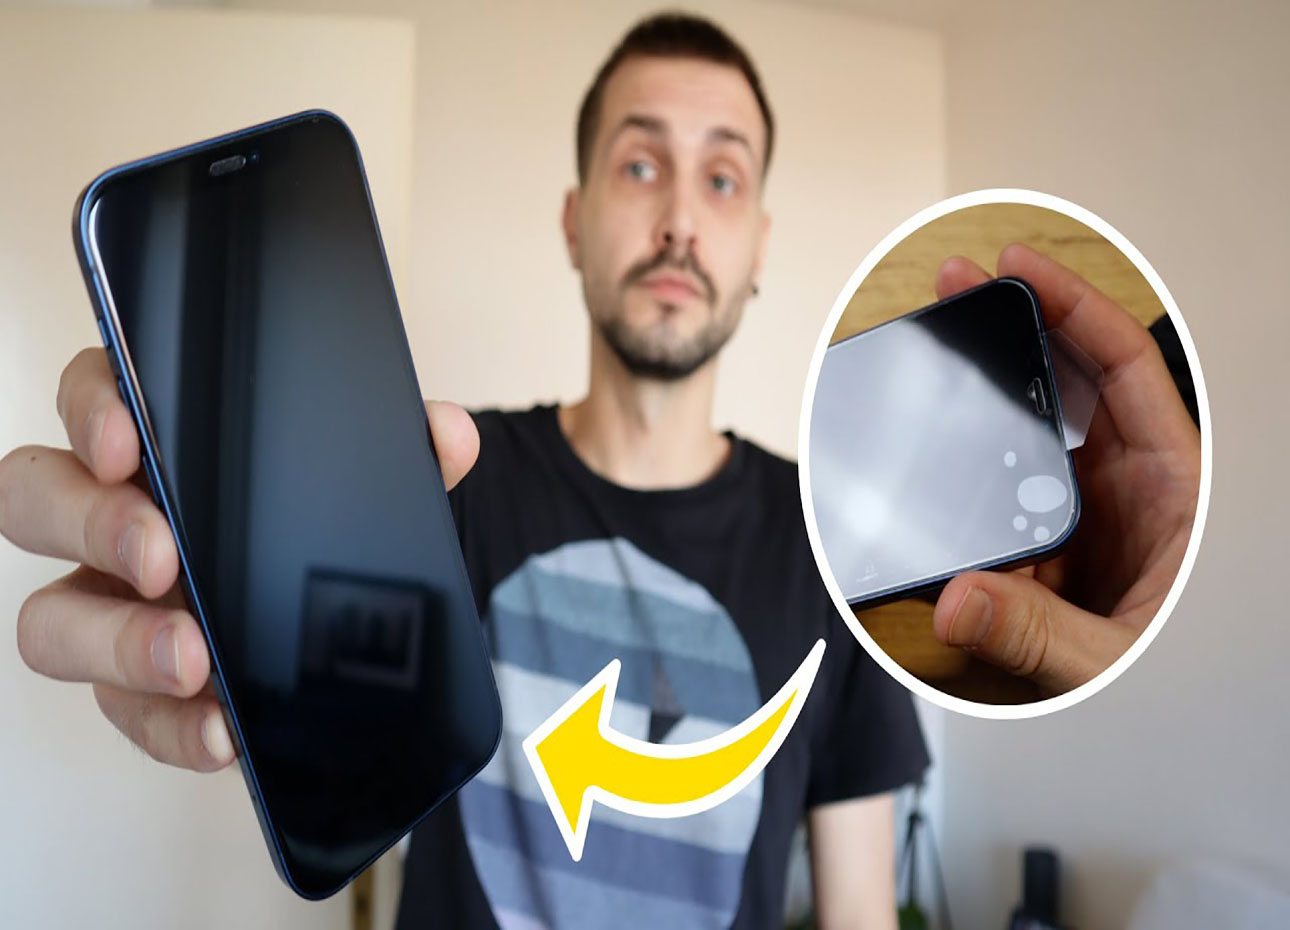
And while I’ve always been religious about protecting my phones—because replacing a \$1,200 device is no joke—the one part of that process that I never got used to, never fully mastered, and always low-key dreaded was applying a screen protector.
It’s the kind of thing that seems like it should be simple. It’s just a piece of plastic or glass, right? But if you’ve ever installed one yourself, you know how quickly a little dust speck, a wayward air bubble, or a slightly crooked angle can turn into a minor catastrophe. I’ve been through it all: stuck protectors, warped corners, lost tempers.
But not anymore. After years of frustration and a quest that’s spanned everything from YouTube hacks to professional installations at carrier stores, I’ve found a system that’s—no exaggeration—foolproof. It’s simple, accessible, and best of all, stress-free.
Let me walk you through it, step by step, and share everything I wish someone had told me ten years ago.
The Unbearable Frustration of Doing It Yourself
The first time I applied a screen protector myself, I genuinely thought I had it in the bag. I was meticulous—washed my hands, wiped the screen, even locked myself in the bathroom and let the shower run to “de-dust” the air. But within seconds of peeling the backing, a single piece of lint floated onto the screen like it had a vendetta. It landed dead center.
I tried to lift the protector and reapply it. That only made things worse. New bubbles appeared. The alignment was off. The whole thing ended in the trash.
Since then, I’ve repeated that ritual more times than I can count. I bought cheap protectors, expensive ones, even “bubble-free” and “self-healing” versions. I used scotch tape to try and “grab” dust particles, used credit cards to smooth things out, and tried those little silicone rollers that look like tiny paint tools. Nothing worked consistently.

The Tools I Wish I Had from the Start
Here’s what I now keep in a dedicated drawer—my screen protector survival kit:
- Alcohol pads: These are crucial. They’re the first line of defense against grime, fingerprints, and mysterious screen smudges that only show up when you’ve already applied the protector.
- Microfiber cloths: Never use your shirt. A clean microfiber cloth does the drying, polishing, and anti-static work you need before anything sticks.
- Dust removal stickers: Absolute game-changers. These are better than tape and are included in many modern protector kits.
- Plastic card or squeegee: Not your everyday credit card, but one with a smoother edge or rubber coating. It helps to press out air bubbles without damaging the protector.
- A clean, flat surface and lots of light: A well-lit environment makes it easier to catch imperfections before they become problems.
Even with all that, for years, installing a screen protector still felt like performing surgery on a moving patient. And then I found the answer.
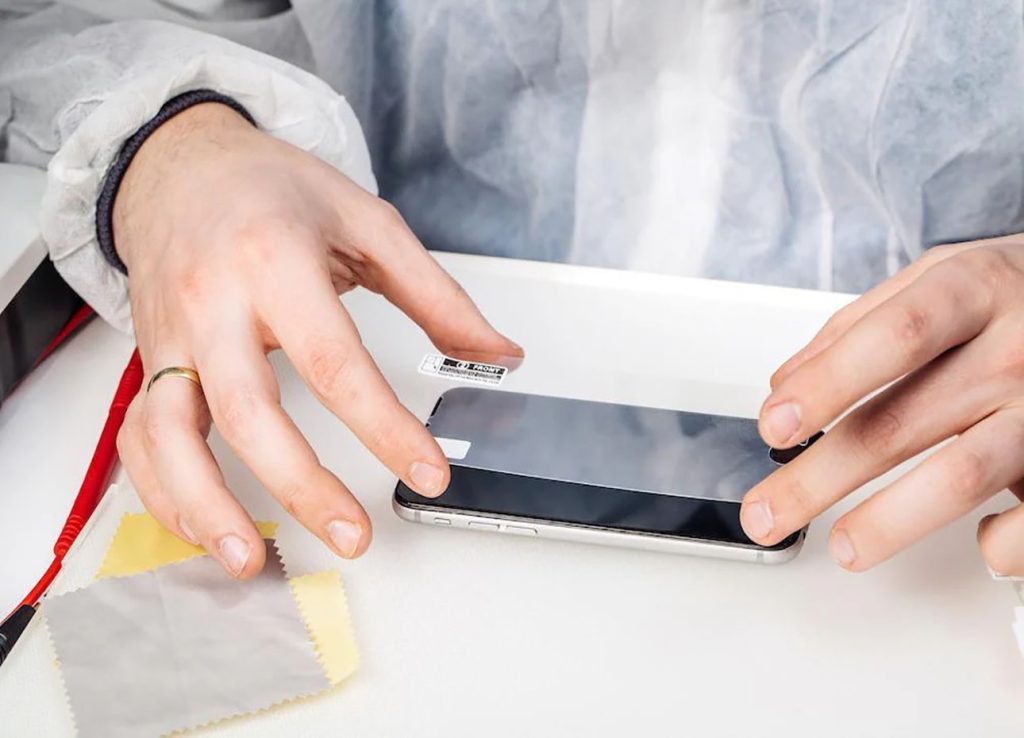
The Game-Changer: Alignment Frames & Installation Kits
The real revolution came when I started using screen protectors with built-in alignment frames. I first encountered these in an OtterBox Alpha Flex kit I bought for my Galaxy S23 Ultra. It came with what looked like a plastic docking station that my phone sat inside. The protector lined up perfectly, and within two minutes, I had it installed without a single speck of dust or bubble.
The moment I pressed down the middle strip and watched the protector seal onto the screen like it belonged there—that was a revelation. No tilting, no adjusting, no panicked repositioning. Just smooth, satisfying adhesion.
Later I tried other brands—dbrand’s Prism 2.0, Spigen’s Glas.tR EZ Fit, amFilm, and ESR—all of which included similar alignment tools or full-blown installation trays. Some even used a multi-step process involving a dust-removal sheet that cleaned the screen automatically before you applied anything.
These installation kits are essentially dummy-proof. If you can fit your phone in a cradle and follow simple arrows, you can install a protector with surgical precision.
Or Just Skip It: Built-In Screen Protectors with Cases
Eventually, I wondered: why even bother with separate protectors? That’s when I tried cases with built-in screen protection. The first was a SUPCASE Unicorn Beetle Pro for my Pixel. It came as a two-piece system: a back shell with shock protection and a front shell with a fitted plastic screen.
I just clicked the phone into place, and boom—done.
This solution wasn’t perfect. The built-in protectors are usually plastic, not glass, and they don’t always feel as responsive. But they do prevent scratches, smudges, and impacts, and they save you the hassle of installation.
Brands like OtterBox, SUPCASE, and Poetic offer versions for iPhones, Pixels, and Galaxies alike.
If you’re like me and go through cases often, this is also a great temporary solution while you wait for a tempered glass protector.
When in Doubt, Let the Pros Handle It
There was a stretch of time when I’d simply take my new protectors to an AT\&T store and ask the staff to apply them. It used to be a courtesy, but lately, more stores require that you purchase the protector directly from them.
Apple Stores will install Belkin screen protectors using a specialized machine, which works perfectly—but you’re paying a premium. A two-pack on Amazon might be \$10–15, while in-store it’s closer to \$40.
That said, if you really want perfect results and have the budget, professional installation is worth every cent—especially if your phone is a high-end flagship or you’re particularly OCD about alignment.
Living on the Edge: Do You Even Need a Screen Protector?
This might sound controversial, but I’ve stopped putting screen protectors on some of my devices entirely.
I know. Blasphemy.
But today’s screens are tough. Like, really tough. Apple’s Ceramic Shield on the iPhone 16 line is no joke, and Samsung’s Gorilla Glass Victus 2 can handle drops that used to shatter phones instantly.
Combined with AppleCare+ or Samsung Care, you’re often covered if damage does happen.
I wouldn’t do this with a foldable phone or anything that’s going to the beach or a dusty worksite. But for everyday urban carry, you might be surprised how resilient modern phones are—especially if you keep them in a quality case.
Where I Shop & Compare: Trusted U.S. Platforms
Buying the right accessories—or even phones—is half the battle. Over time, I’ve built a go-to list of U.S.-based platforms that make life easier:
- Wirecutter (by The New York Times): Their recommendations for cases, protectors, and accessories are gold-standard.
- WhistleOut: Great for comparing phone plans, especially if you’re trying to save money or find a new carrier.
- Best Buy: Offers protection bundles and does in-store installs.
- Amazon US: The best for finding affordable protector kits with installation frames.
- Visible and Mint Mobile: If you’re on a budget and want affordable service along with a new device.
- T-Mobile, Verizon, and AT\&T: Their stores often offer professional installation and exclusive accessories.
The System That Finally Works—Every Time
Today, whenever I buy a new phone, I follow a routine that’s never let me down:
- Pick a quality screen protector kit with a frame or full installation tray.
- Clean the screen obsessively with alcohol wipes, microfiber, and stickers.
- Work in a dust-free room with bright lighting.
- Use the included tools and follow the arrows—it’s easier than IKEA furniture.
- Let the protector set for a few minutes, then case the phone and forget about it.
And if I really don’t want to deal with any of it, I go for a case with built-in protection—or just live a little and skip the protector entirely.
For years, I wrestled with something that I thought I was just “bad at.” But it turns out, the real problem wasn’t me—it was the tools. And now that I’ve found the right ones, I’ll never go back.
Let me know if you’d like a printable checklist, shopping links for recommended brands, or even a comparison of the best alignment kits on the market right now. I’ve tested nearly all of them, and I’ve got the scars (and perfectly protected phones) to prove it.

